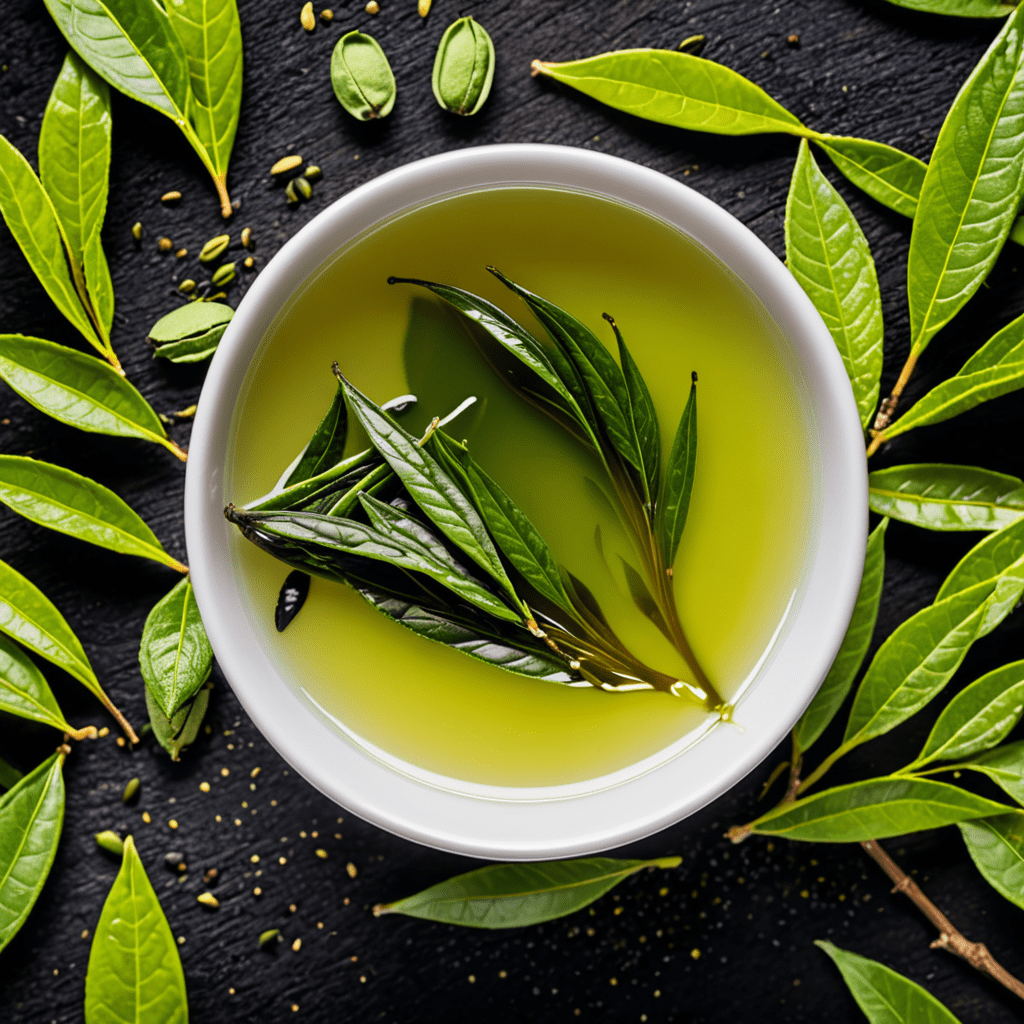
Discover the Ultimate Guide to Crafting a Refreshing Green Tea Toner
Introduction
Green tea is not only a popular beverage but also a great natural ingredient for skincare. One of its many uses is as a toner, which can help balance the pH of your skin, minimize pores, and provide a refreshing boost. In this article, we will guide you through the process of making your own green tea toner at home.
Benefits of Green Tea Toner
Before we delve into the recipe, let’s explore the benefits of using green tea toner on your skin:
- Antioxidant-rich: Green tea is packed with antioxidants that can help protect your skin from free radicals, reducing signs of aging.
- Reduces inflammation: The anti-inflammatory properties of green tea can soothe irritated skin and reduce redness.
- Controls oil production: Green tea can help regulate sebum production, preventing excessive oiliness and breakouts.
- Hydrating: The natural humectant properties of green tea help retain moisture and keep your skin hydrated.
Recipe: Homemade Green Tea Toner
Now, let’s move on to the step-by-step instructions on how to make your very own green tea toner:
- Boil 1 cup of filtered water in a pot.
- Add 2 green tea bags or 2 teaspoons of loose green tea leaves to the boiling water.
- Allow the tea to steep for 5-10 minutes to extract its beneficial properties.
- Remove the tea bags or strain the tea leaves from the infused water.
- Let the green tea cool completely.
- Pour the cooled green tea into a clean, sterilized bottle or container.
- Your homemade green tea toner is now ready to use!
How to Use Green Tea Toner
To incorporate your green tea toner into your skincare routine, follow these simple steps:
- Cleanse your face with a gentle cleanser, and pat dry.
- Take a cotton pad or ball and soak it in the green tea toner.
- Gently swipe the soaked cotton pad across your face, avoiding the eye area.
- Allow the toner to dry on your skin.
- Continue with the rest of your skincare routine, such as applying moisturizer.
Tips for Customization
While the basic recipe for green tea toner is simple, you can customize it to address specific skin concerns. Here are some ingredients you can add:
- Acne-fighting: Add a few drops of tea tree oil or witch hazel for their soothing and antibacterial properties.
- Hydrating: Mix in a teaspoon of aloe vera gel or glycerin to boost hydration.
- Brightening: Squeeze in some lemon juice for its natural brightening effects.
Frequently Asked Questions (FAQ)
Q: How long does homemade green tea toner last?
A: When stored properly in a cool, dark place, homemade green tea toner can last up to two weeks.
Q: Can I use green tea bags that have already been steeped?
A: It is recommended to use fresh green tea bags or loose leaves for the best results. Using previously steeped tea bags may not provide the same concentration of beneficial compounds.
Q: Can I use green tea toner every day?
A: Yes, you can use green tea toner every day as part of your skincare routine. However, if you experience any irritation or negative reactions, discontinue use and consult a dermatologist.
Q: Can I use the green tea toner on any skin type?
A: Green tea toner is generally suitable for all skin types. However, if you have extremely sensitive or reactive skin, it’s always recommended to do a patch test before applying it to your entire face.


